Below you can see brief instructions that explain how to create tactile maps from hapticke.mapy.cz using suitable technology. If you do not have this technology you can either turn to one of the institutions nearby (list of access points) or use services of Seznam.cz which will send you printed maps at their own costs (available for Czech Republic only, see order form on hapticke.mapy.cz).

What do you need if you want to print maps on your own?

  • a computer connected to the internet
  • a conventional office printer
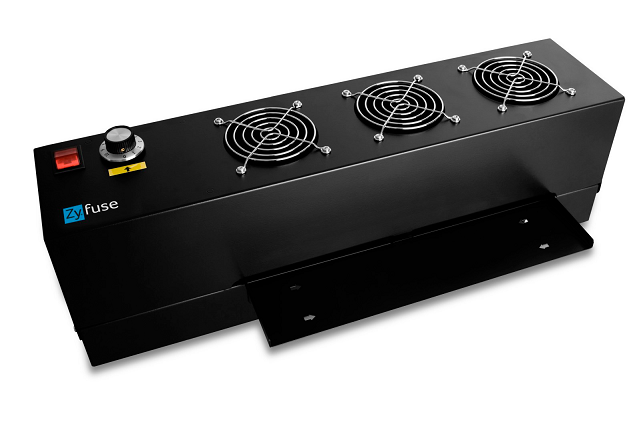
  • microcapsule paper (Zy-fuse, P.I.A.F)
  • a fuser (an office device for haptic print – Zy-fuse Heater, P.I.A.F)

1. Map sheet selection
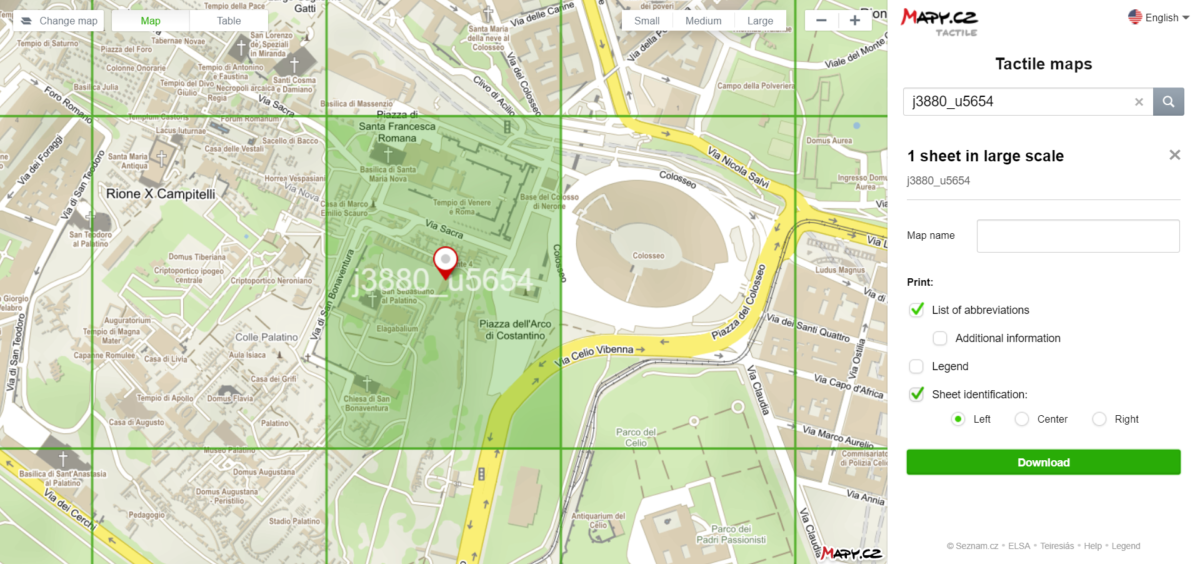
  • You can find tactile maps on hapticke.mapy.cz. Alternatively you can get to them using www.mapy.cz by clicking on “Change map” button (upper left corner) and choosing “Haptic”.
  • Choose your point of interest – by moving the map, entering an exact address or sheet identifier (in the tab on the right) or a table with sheets layout.
  • Choose the right map scale – you can choose from three scales (large, medium and small) with buttons in the upper right corner.
  • Click into the map to select map sheets which you want to print. All map sheets are organised into a network which shows their layout. Selected sheets are darker and you can see their list in the tab on the right.

2. Maps and additional information download

  • The purpose of the field Map name is to identify the downloaded map base dedicated for the print and it is also reflected in the textual map legend.
  • Apart from the map itself you can download and print other bases:
    • the list of abbreviations – a textual list which explains the abbreviations of settlements and streets used in the map sheet,
    • the map legend – it defines graphic elements used in the tactile map (how the maps displays a street, a river, a park or e.g. what stairs look like),
    • the additional information – it provides the list of interesting and useful places in the selected area (e.g. restaurants, pharmacies, public transport stops or cash machines).
  • It is possible to print a unique map identifier on the map sheet. This identifier (among others) indicates the mark of neighbouring map sheets in case you want to print them later.
  • By clicking on Download button you start downloading all print data. You get graphic PNG files and textual TXT files, all archived in a ZIP file.

Additional information

3. Printing the map

  • Insert the microcapsule paper into the laser printer, the surface of the print layer is harder and less resistant to abrasion.
  • In print settings select A4 format, sRGB colour profile and true black.
  • Print individual map sheets.
  • Set the fuser power to approx. 2/3 and pull through a heavy paper twice or three times to heat it up.
  • Insert the printed map sheets into the fuser and pull them through – thanks to the heat treatment the black prints should rise in volume and the map becomes plastic and possible to be read by touch.
  • Check the result, adjust the fuser power and repeat the steps if necessary. Try to print the map with as low number of pulling through as possible, because every time the paper is pulled through the fuser the quality of haptic print deteriorates. This is especially valid for letters in Braille alphabet.

Examples of technology needed